
Force of Habit: Day 11 / RepRap Complete & Tools
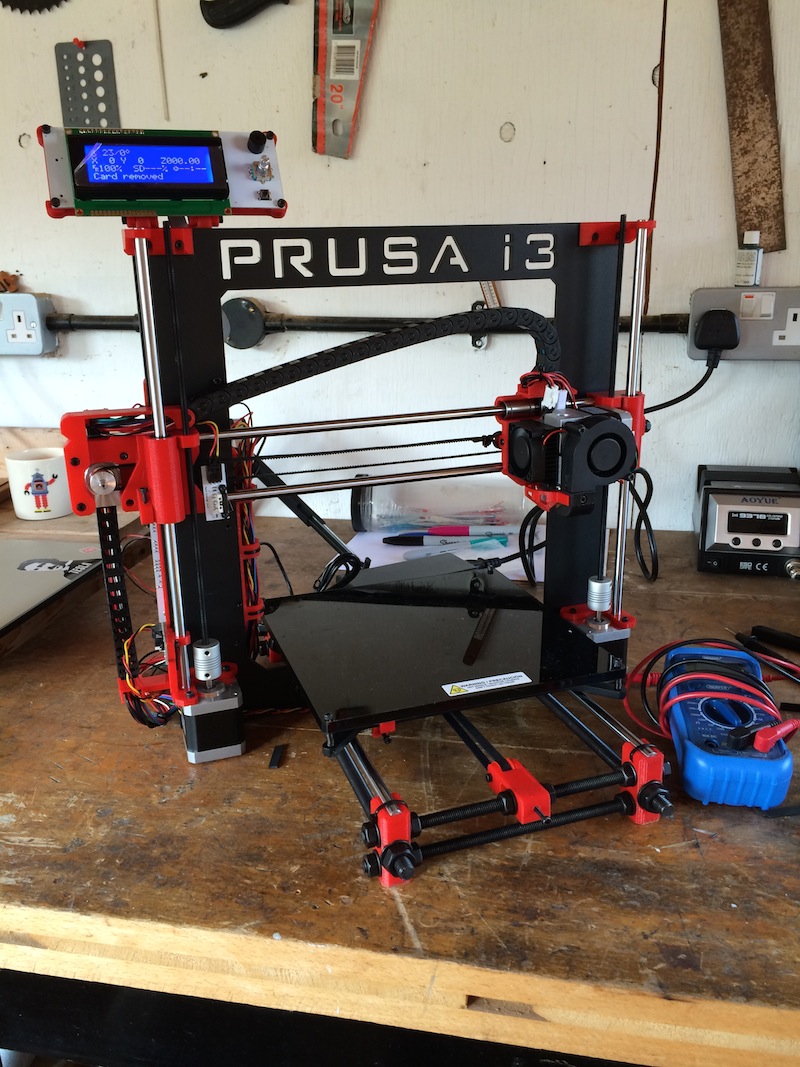
I finished the build of the RepRap 3D printer today. The whole build took me about 12 hours, although it could easily be done in a day.
Tool instincts
The last stages of the project involved wiring the print head and getting all the connections and leads patched into the controller. This printer is run with a RAMPS 1.4 controller, which is a printer specific shield sitting atop an Arduino Mega.
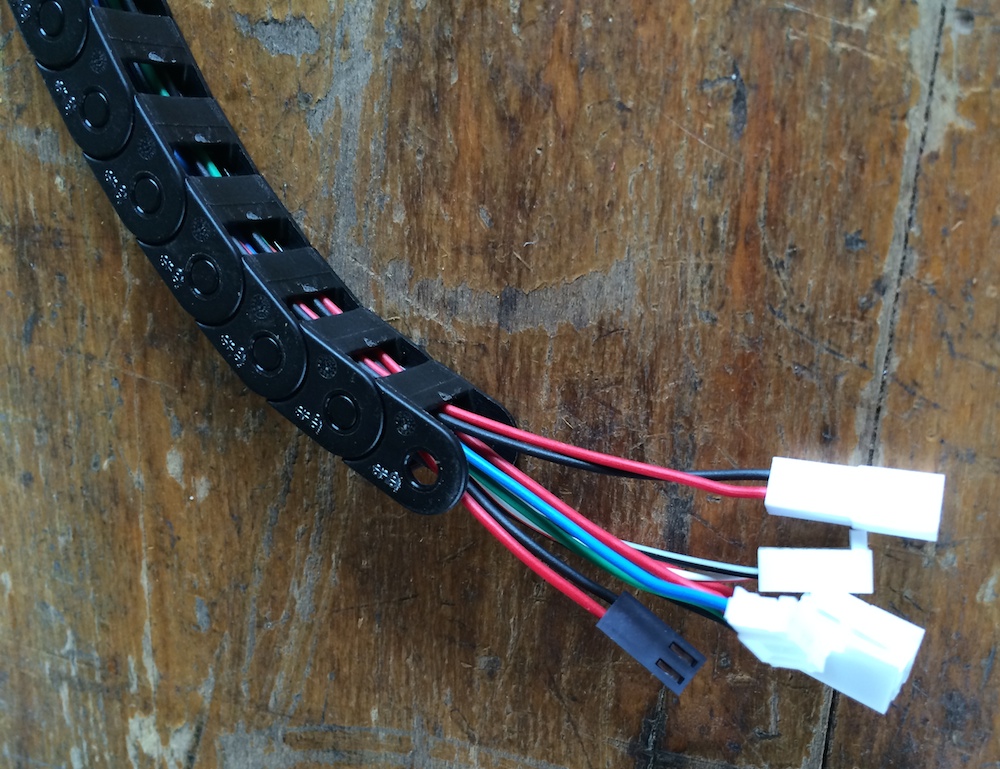
The kit I built contained some really lovely cable chains which tidied up wiring, but were challenging to thread all of the leads through. I was able to thread the first wires through by hand, but as the chains became crowded, I needed a little help.
I found a length of wire/rod on the wall of my workshop, which I’d squirreled away for this sort of occasion. After LoomBands proved useless for attaching the wires to the threading rod (I’m convinced LoomBands are only good for the vacuum repair trade) I settled on a bit of good old gaffer tape. Perfect.
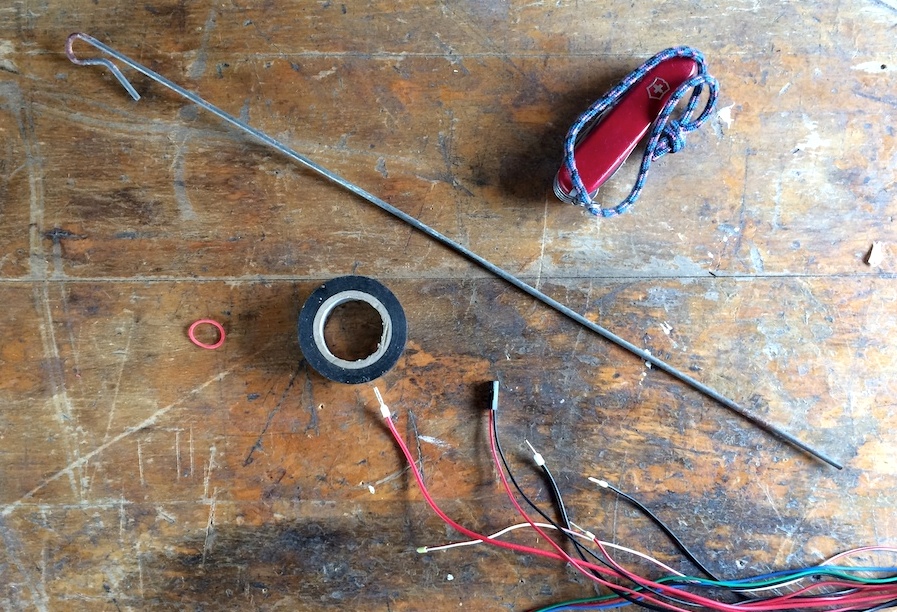
Tools like this are never the sort of thing you’d buy in a shop. But they save such huge amounts of hassle and keep a project flowing when it most needs it. Fancy and specialised tools are less important to a maker than the instinct to seek and improvise tooling at every opportunity.
Final Timelapses
Here’s the last three stages of the build for anyone who’s been following along from the beginning. Until I get down to actually printing some objects, these will likely be the last videos for a couple of days.
Granite comes for a visit at 2:10 and starts shredding pipe lagging.